Growing up, I remember my Mom making these cookies each year at Christmas. They are one of my favorites so I decided to make some to serve to our Bible study tonight. They sure bring back memories.
I must warn you that there is one “job hazard” in making these cookies. After they bake for 5 minutes, you remove them from the oven and place your thumb in the middle of the hot cookie to make the thumbprint. 🙂 Don’t worry, it only hurts for a few seconds. 🙂
Ingredients:
1/2 cup soft shortening
1/2 cup softened butter
1/2 cup brown sugar
2 eggs, separated (whites from yolks)
1 teaspoon vanilla
1 cup white flour
1 cup whole wheat flour
1/2 teaspoon salt
1 1/2 cups nuts, finely chopped
Instructions:
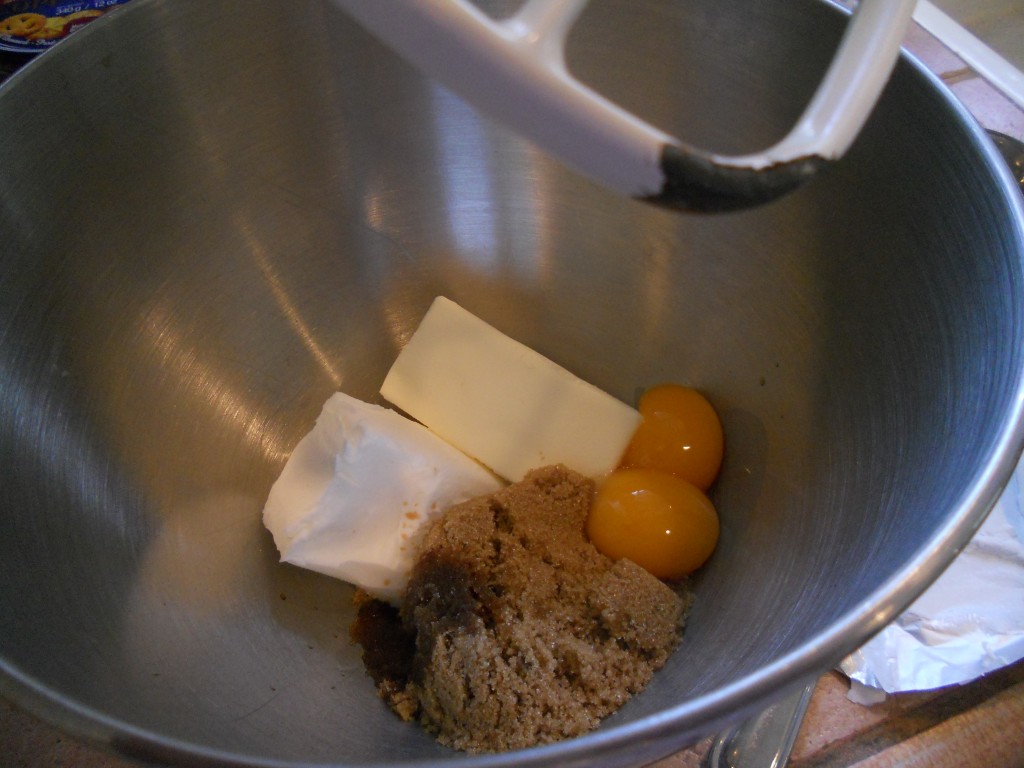
Mix the shortening, butter, brown sugar, egg yolks and vanilla together until well mixed.
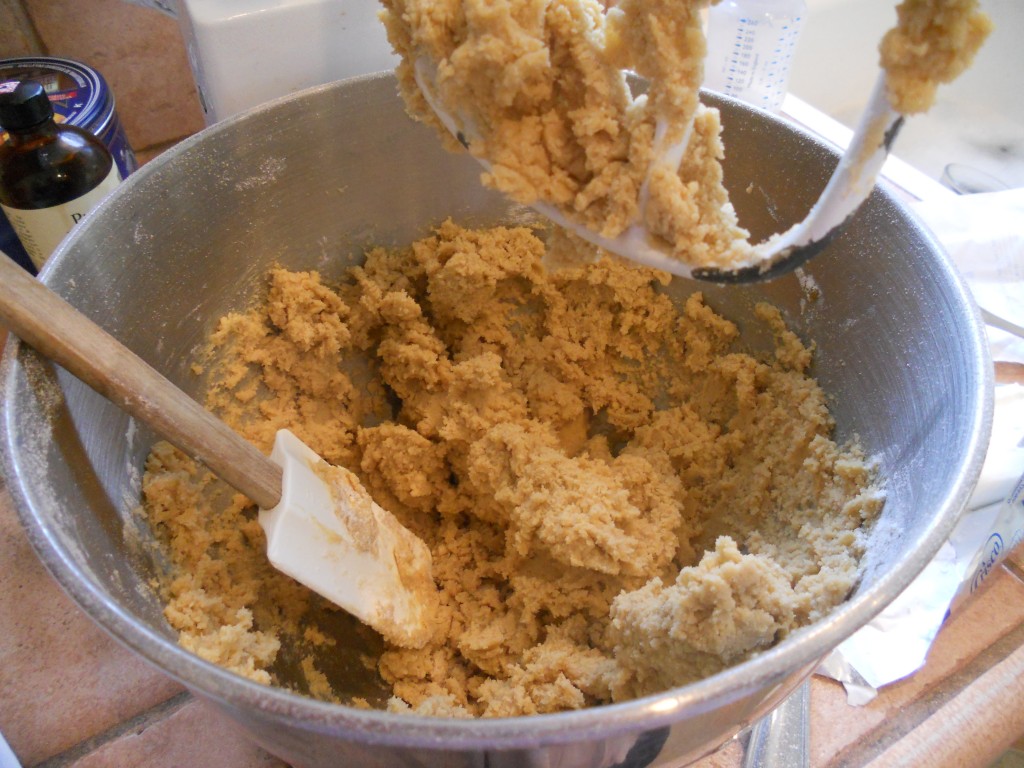
Add in the white and wheat flour and salt and mix until well combined.
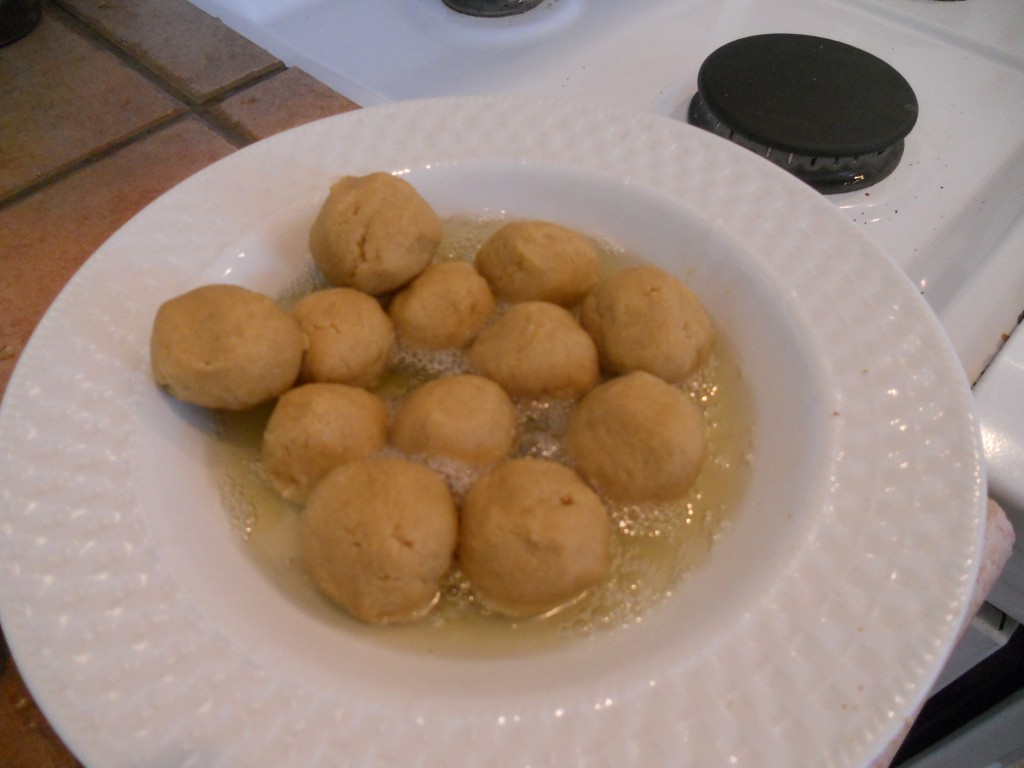
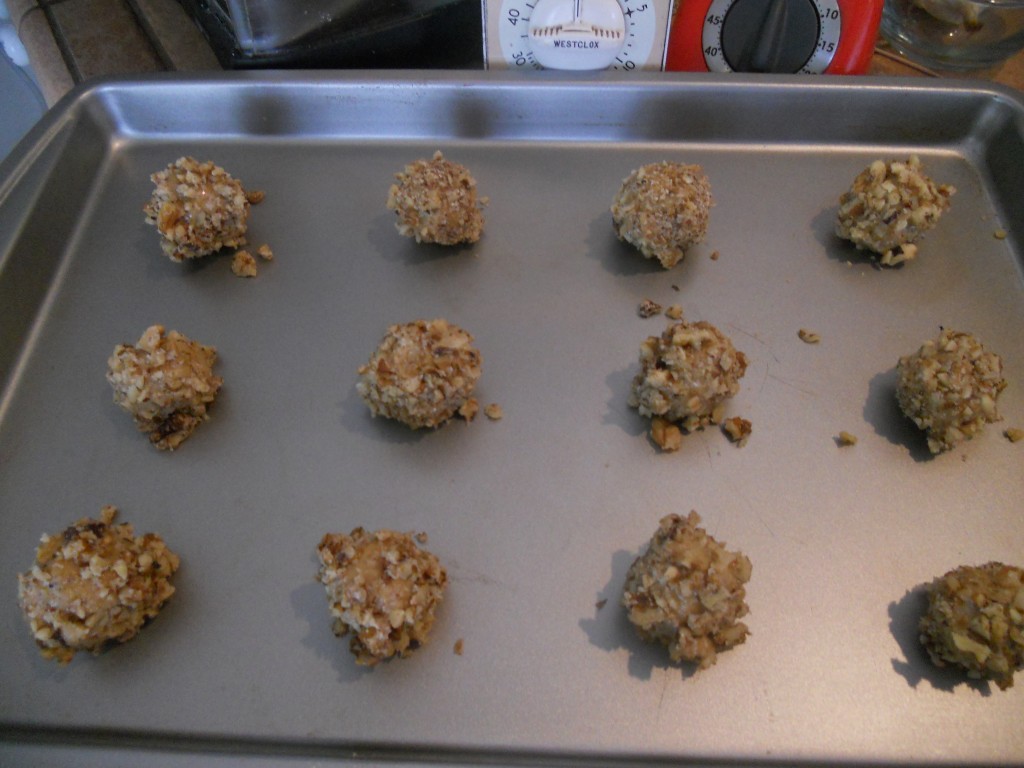
Roll into 1″ balls and dip in the slightly beaten egg whites that were saved from earlier. I rolled enough balls for 1 cookie sheet and placed them into the whites. Once 12 were done, I rolled them around one by one as I moved to the next step.
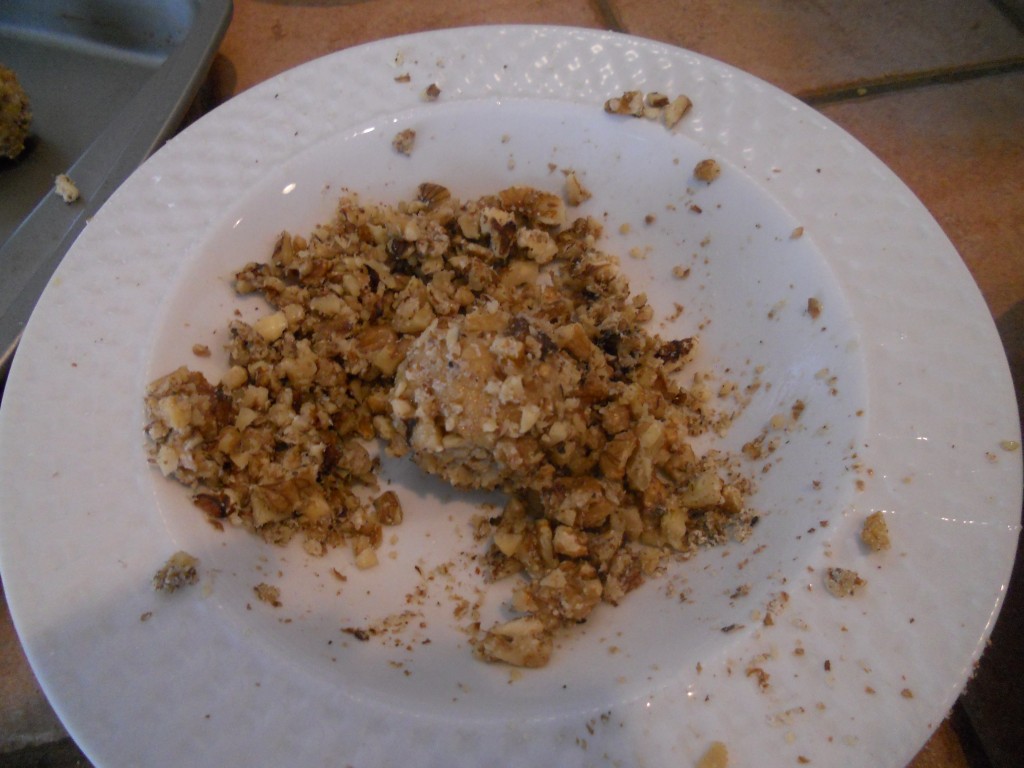
Roll dipped balls into finely chopped nuts (I used walnuts, but pecans would work too and pistachios would make a pretty green color).
Place on a cookie sheet and bake in a 350 degree oven.
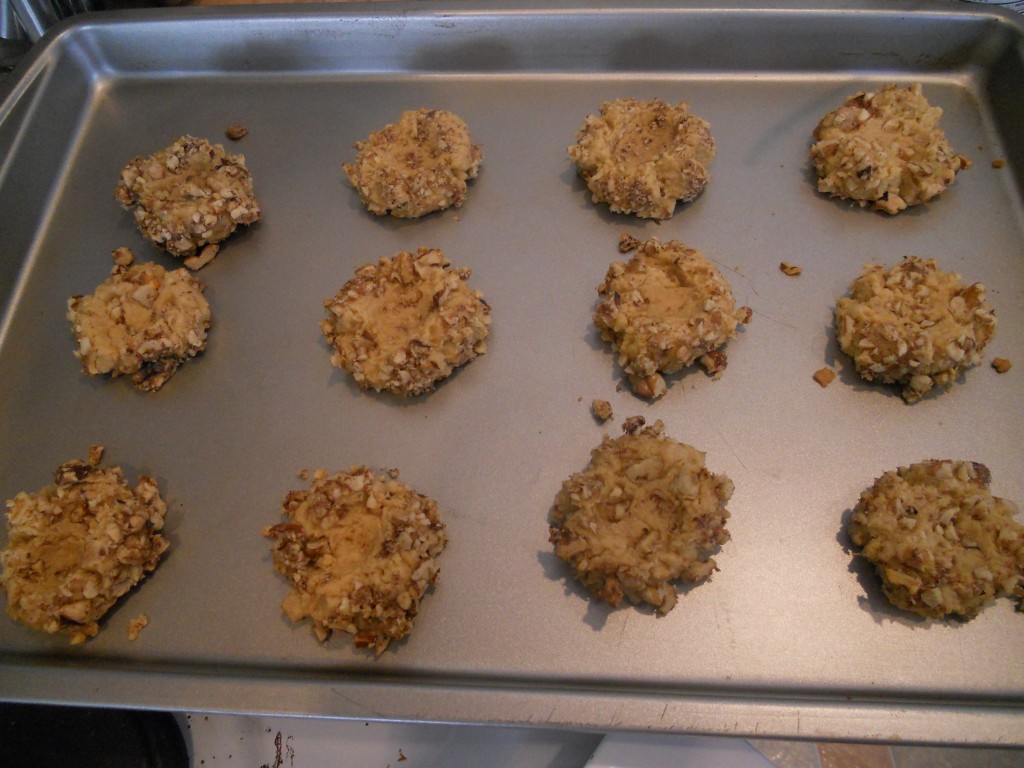
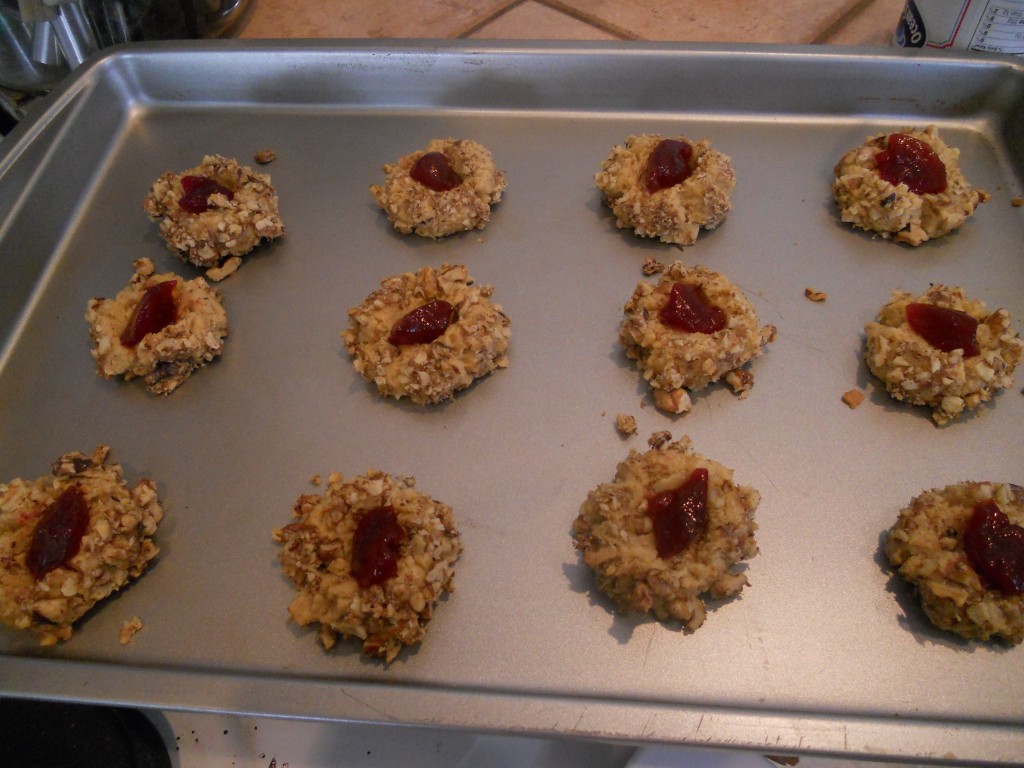
Now, here comes the part that hurts a little :). Remove the cookies from the oven after 5 minutes and lightly press your thumb into the center of the cookie. That makes the spot where we will put a bit of jam on top.
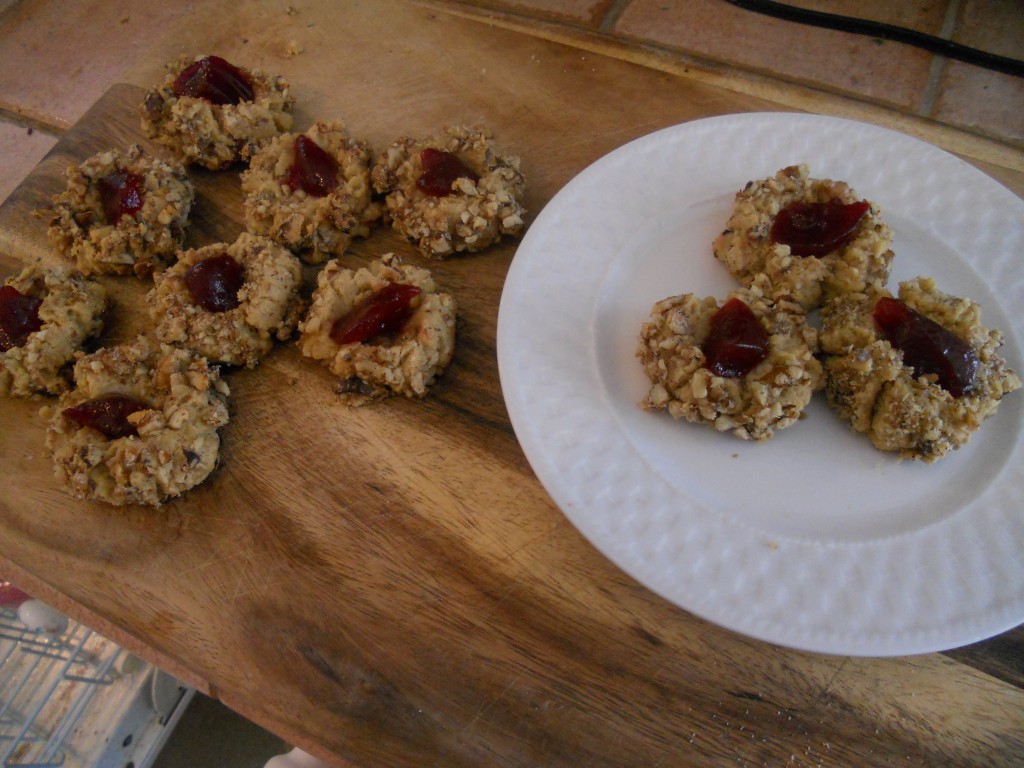
Return to the oven and bake for an additional 8 minutes. When they are done, they will only be slightly brown. Leave them on the cookie sheet for an additional 3-5 minutes to set and then top with something sweet and fruity. Growing up, we used jam and that was great. We were all out so I got creative and used some leftover cranberry sauce and it is YUMMY! Once they are topped, place them on a cooling rack to cool. Mine ended up on my wood cutting board because I have misplaced my cooling rack…how did I do that? 🙂
Once they are cooled completely, they can be moved into an airtight storage container and frozen, or eaten on the spot! 🙂 This recipe makes 24 cookies.
I linked up this recipe here:




no way; my mom made these when i was growing up too! ok i am so totally making them for my boys. so fun!
That is great! We have enjoyed some of the batch I made…but are trying to save them for Bible study. 🙂
My mom never made these cookies, but I know I’ve heard of them somewhere before. They sound like they’d be worth the burnt thumbs! I hope you’ll share this post at our Holiday Cookie Recipe Swap going on now: http://thedomesticatedprincess.blogspot.com/2012/12/holiday-cookie-recipe-swap-week-3.html.
Thank you! I will stop by the exchange tomorrow! Thank you for the invite! 🙂
These look great, I love all the chopped nuts on the outside. Thanks so much for sharing on our Holiday Cookie Recipe Swap.
Steph
swtboutique.blogspot.com
[…] Mom’s Thumbprint Cookies […]
Can’t get these cookies out of my mind….they were so delicious. I think I am going to try and make them. Can I use all regular flour since it is all I have?
You should totally make them :). Yes, you can use regular flour. They will turn out great! :).
[…] Mom’s Thumbprint Cookies from My Life as Robin’s Wife […]
[…] Iced Pumpkin Cookies from A Dash of Sanity Mom’s Thumbprint Cookies from My Life as Robin’s Wife […]